
Appearance
Render settings & output
Choose an output based on what you need to share:
| What you need | Choose |
|---|---|
| A quick copy of the current Lite preview | Take a viewport screenshot. Copy it to the clipboard or save it as a PNG. |
| A higher-resolution still image, with optional channels for post-production | Set Output Type to Image. See Image output. |
| A 360° view from a fixed position | Use a perspective view and set Output Type to Panorama. See Panorama output. |
Choose an output type
Use Output Type in the render settings to choose between Image and Panorama.
| Output type | What you get | Settings available |
|---|---|---|
| Image | A still render of the current view | Image quality, format, aspect ratio, channels |
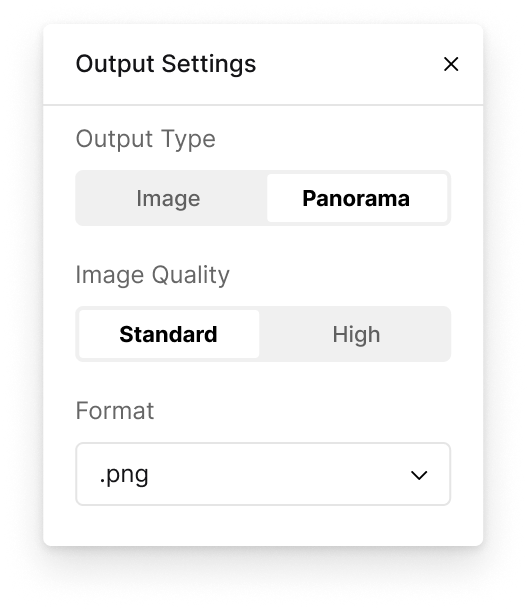
| Panorama | A 2:1 equirectangular image, 360° horizontal and 180° vertical | Image quality, format |
Image output
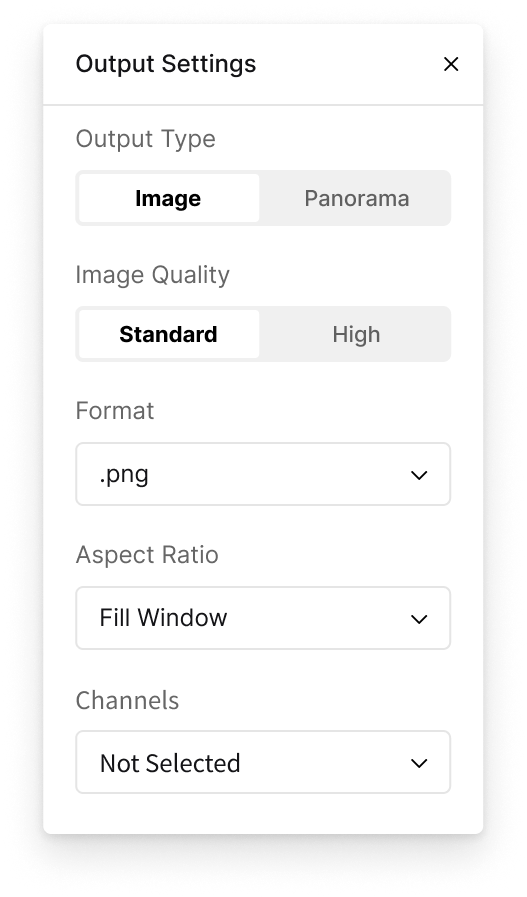
Image quality and format
Choose Standard or High to set the maximum size of the image's longest side:
| Image Quality | Notes |
|---|---|
| Standard | Up to 2560 px on the longest edge; good for quick previews and everyday communication. |
| High | Up to 3840 px on the longest edge; for images that need more detail. |
Format:
| Format | Notes |
|---|---|
| PNG | Default format; better image quality. |
| JPG | Smaller files. |
Choose an aspect ratio
Choose Match SketchUp / Rhino / Revit (shown with your modeling software's name), Fill Window, or a fixed ratio: 4:3, 16:9, 3:2, 3:4, 9:16, 2:3, 1:1.
Channels
When the output type is Image, Lite can output channel images alongside the main image, for masking and compositing in post-production. Find Channels below Aspect Ratio in the render settings.
Available channels: SkyMask, MaterialID, Reflection, and Transparent. Transparent outputs a separate solid-color mask that identifies transparent objects.
- Select the channels you need from the dropdown, or choose "Select all channels". If none are selected, only the main image is output.
- Channel images are saved to the same folder as the main image, in the same format (PNG / JPG), with the channel name appended to the main image file name.
- Channel selections are saved with the scene.
- Panoramas and viewport screenshots do not output channel images.
Panorama output
With Panorama selected as the output type, Lite generates a 2:1 equirectangular image, 360° horizontal and 180° vertical. Image quality has two levels:
| Image Quality | Notes |
|---|---|
| Standard | 4K (4096×2048) |
| High | 8K (8192×4096) |
The format is PNG (default) or JPG. Panoramas are generated with a perspective camera and are not available in orthographic projection. When you switch to Panorama, the aspect ratio and channel options are hidden; switching back to Image restores your previous settings. Progress and an estimated time are shown during rendering, and you can cancel at any point.
Render an image or panorama
- Frame the view you want to render. For a panorama, use a perspective view.
- Click the sliders icon in the lower-right corner of the Lite window to open the output settings. Choose an Output Type and set its options.
- Click Render.
- Choose a folder and file name, then confirm to start rendering.
- Wait for rendering to finish. Progress and an estimated time are shown, and you can cancel.
- When rendering finishes, open the output folder and check the saved image. If you selected any channels, check that their files are in the same folder.
Viewport screenshot
To save the current preview quickly, take a viewport screenshot.
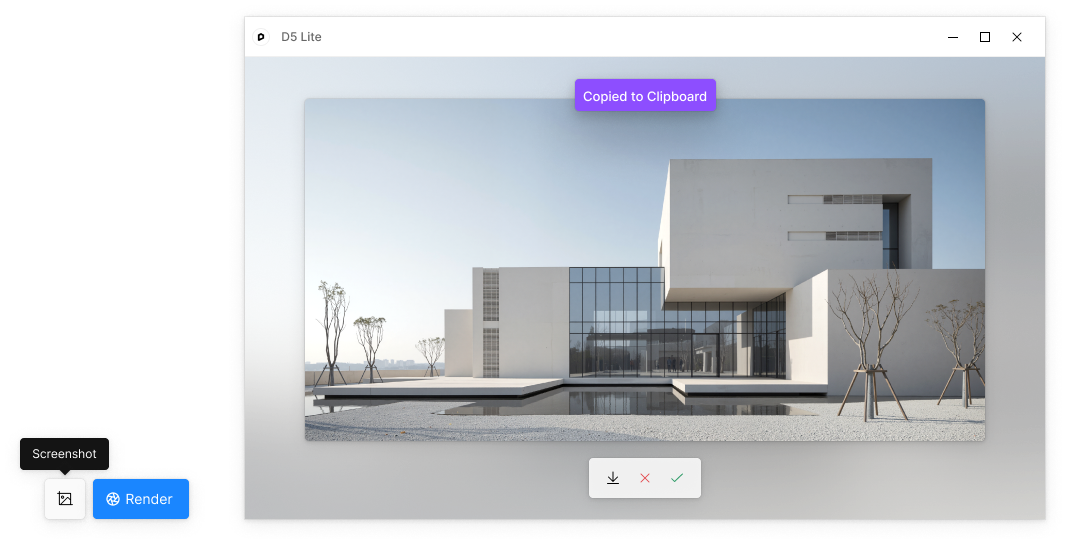
- In Render Mode, click Screenshot on the bottom toolbar, beside Render.
- In Screenshot Preview, copy the image to the clipboard or save it locally.
The screenshot covers the current framing area, without interface panels or guides. Screenshots are saved as PNG with a longest edge of up to 2048 px and do not include channel images.
Save location
Images and panoramas use the format selected in the output settings. The save dialog opens in the folder you used last.